
A Practical Smart-Light Setup for a Dark Hallway
Start with the way your home works
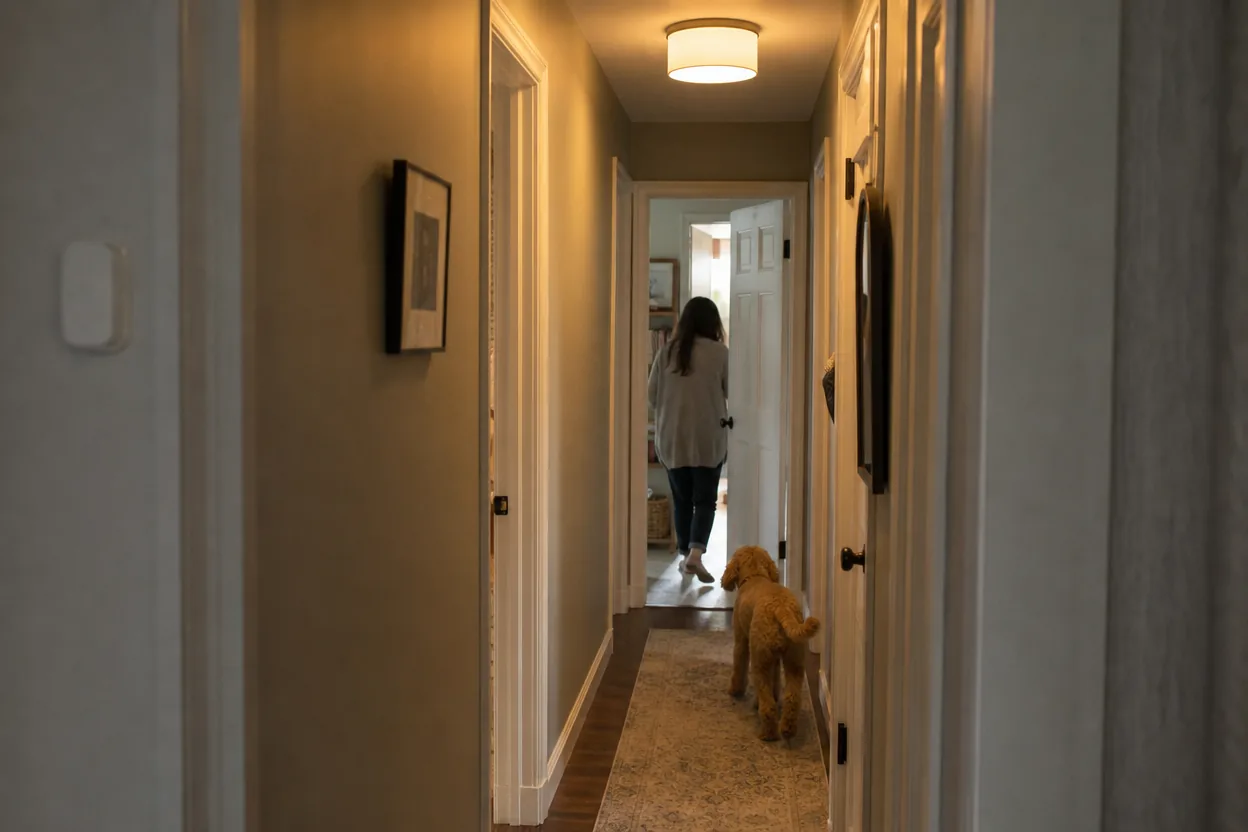
This guide looks at a narrow hallway with no convenient switch at one end. The goal is straightforward: A resident wants the path to light when someone enters at night, but wants to avoid lights triggering all day.
That routine gives the buying decision a useful test: write down when the device should help, who will use it, and what the household should do if the app, internet, or automation is unavailable. If a proposed setup cannot handle those ordinary moments, extra features are unlikely to fix the mismatch.
What to compare before choosing
For this setup, compare sensor field of view, timeout controls, night-only schedules, manual override, and how the sensor communicates with the light. Check the manufacturer’s current compatibility information and installation requirements before ordering; specifications and supported integrations can change.
Make the comparison concrete: write down the exact room, the people who need access, any existing wiring or hub, and the ongoing costs. Then check each candidate against the same list. A control that household members can use without coaching is often more valuable than a longer feature list.
The main trade-off
Motion automation is useful for transit areas, but the timeout needs adjustment and the manual switch should remain predictable.
A before-you-buy checklist
- Place the sensor where it sees people approaching.
- Set a conservative timeout and test it at walking speed.
- Limit bright activation to appropriate hours.
- Make sure there is still a direct manual control.
A practical next step
For this household, start by checking whether a device can support this routine: A resident wants the path to light when someone enters at night, but wants to avoid lights triggering all day. Verify fit, privacy settings, return terms, ongoing fees, and fallback controls on the maker’s product page. If the first option adds more setup than the routine is worth, compare a simpler control before buying.